Trying to coordinate party supplies from scratch without a ready-made kit can feel like solving a puzzle with no picture on the box. You want everything to look intentional and beautiful, but between choosing colors, hunting for supplies, and managing a budget, the whole process can spiral fast. The good news? With the right preparation, a clear theme, and a few smart sourcing tricks, you can pull off a party that looks like a professional styled it. This guide walks you through every step, from your first planning notes to the final balloon placement.
Table of Contents
-
How to coordinate party supplies from scratch: planning first
-
Coordinating colors, styles, and supplies for a cohesive look
Key Takeaways
| Point | Details |
|---|---|
| Plan 4-6 weeks ahead | Start sourcing non-perishables early and reserve perishables for the last two days before the event. |
| Use the 60/30/10 color rule | Assign 60% to a dominant neutral, 30% to a secondary color, and 10% to an accent for a polished look. |
| DIY saves real money | DIY balloon garlands cost $15-$40 versus $80-$200 for professional versions, freeing budget for other items. |
| Focus decor on key spots | Spend 80% of your decoration effort on the 20% of space guests see most, like the entrance and food table. |
| Build an emergency kit | Pack tape, extra balloons, glue, and staples to handle on-site decor fixes without stress. |
How to coordinate party supplies from scratch: planning first
Before you buy a single roll of ribbon or a pack of plates, you need a plan. Every great party setup starts with three decisions: the purpose, the guest count, and the theme. These three things drive every other choice you make, from how many plates to order to which colors anchor your decor.
Start by writing down your party’s purpose. Is it a birthday? A milestone? A casual playdate turned celebration? The purpose shapes the energy of the event and helps you decide how elaborate the decor needs to be. A first birthday calls for something different than a ten-year-old’s art party.
Once you have your theme locked in, build your budget. Research shows decorations should take 10-15% of your total party budget, with food and drinks claiming 40-50%. That breakdown is a practical guardrail. If your total budget is $300, you have roughly $30-$45 for decor. That sounds tight, but it is very workable when you know where to spend and where to DIY.
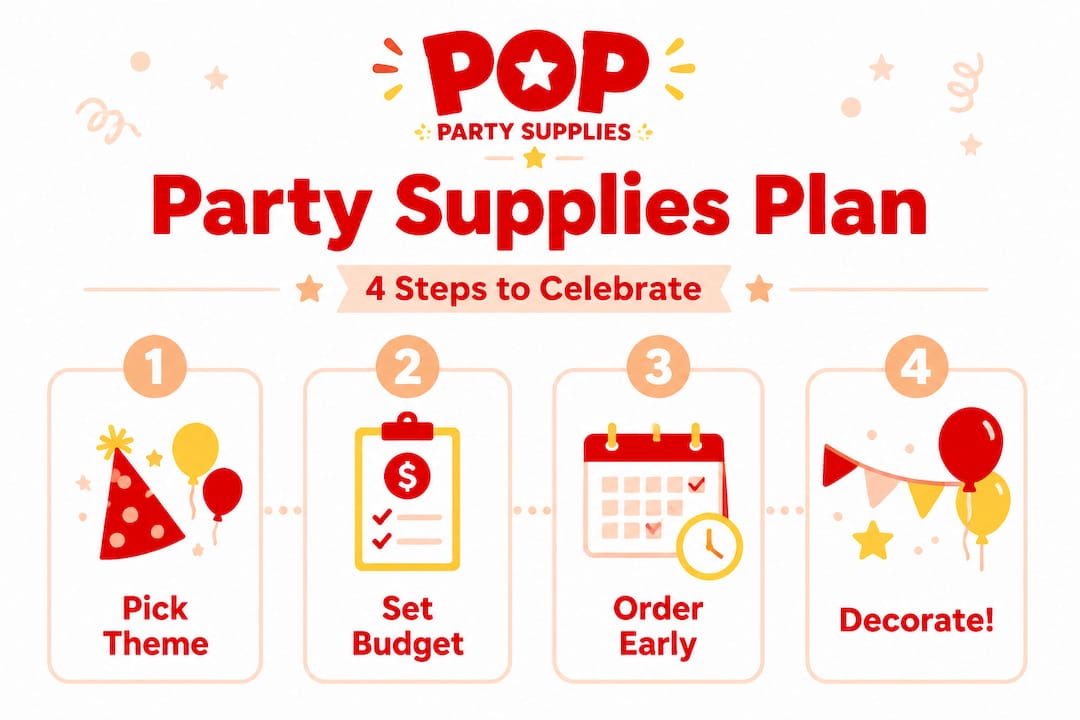
Next, choose your color palette using the 60/30/10 color rule. Sixty percent goes to a dominant neutral like white or cream, thirty percent to a secondary color like dusty blue or sage green, and ten percent to a punchy accent like gold or coral. This formula keeps everything looking cohesive without requiring a design degree.
Here is a sample planning checklist to organize your supply categories:
-
Tableware: plates, cups, napkins, tablecloths
-
Decor: balloons, banners, centerpieces, backdrops
-
Favors: bags, fillers, tags, stickers
-
Lighting: string lights, candles, lanterns
-
Extras: tape, scissors, zip ties, command hooks
Pro Tip: Start planning 4-6 weeks out and order custom or specialty items in the first two weeks. This leaves you buffer time if something arrives wrong or sells out.
Sourcing and creating DIY party supplies efficiently
Once your plan is solid, sourcing becomes much more fun and far less chaotic. The smartest approach mixes three channels: bulk buys for basics, specialty retailers for themed pieces, and DIY crafting for statement items.
Here is a step-by-step sourcing workflow that works:
-
List every item by category. Use your checklist from the planning phase and note which items you will buy versus make.
-
Shop for bulk basics first. Solid-colored balloons, plain tablecloths, and basic utensils are cheapest in bulk and form the neutral foundation of your theme.
-
Source specialty and themed items next. This is where curated collections shine. Items like art-themed party supplies add personality without requiring you to craft everything from scratch.
-
Plan your DIY projects. Balloon garlands, custom banners, and paper flower walls are the highest-impact DIY projects. DIY balloon garlands cost $15-$40 compared to $80-$200 for professional versions, making them one of the best budget moves you can make.
-
Buy non-perishables 3-4 weeks out. Balloons, paper goods, and decorations can all be ordered early. Perishables like fresh flowers should be picked up one to two days before the event.
-
Check local craft stores for materials. Kraft paper, washi tape, twine, and cardstock are all inexpensive and versatile. You can use watercolor paper for custom signage, menus, or activity stations.
The honest truth about DIY is that it saves money but costs time. A balloon garland that costs $25 in materials might take two hours to assemble. If your time is tight, focus your DIY energy on one or two statement pieces and buy the rest. That trade-off keeps your stress low and your party looking great.
Pro Tip: Use puffy stickers and embellishments to quickly upgrade plain bags, boxes, or favor containers without any crafting skills required.
Coordinating colors, styles, and supplies for a cohesive look
This is where most DIY parties either shine or fall apart. You can have beautiful individual pieces that clash terribly together. Consistency in theme and color palette is more impactful than complexity when it comes to making a party look professionally styled.
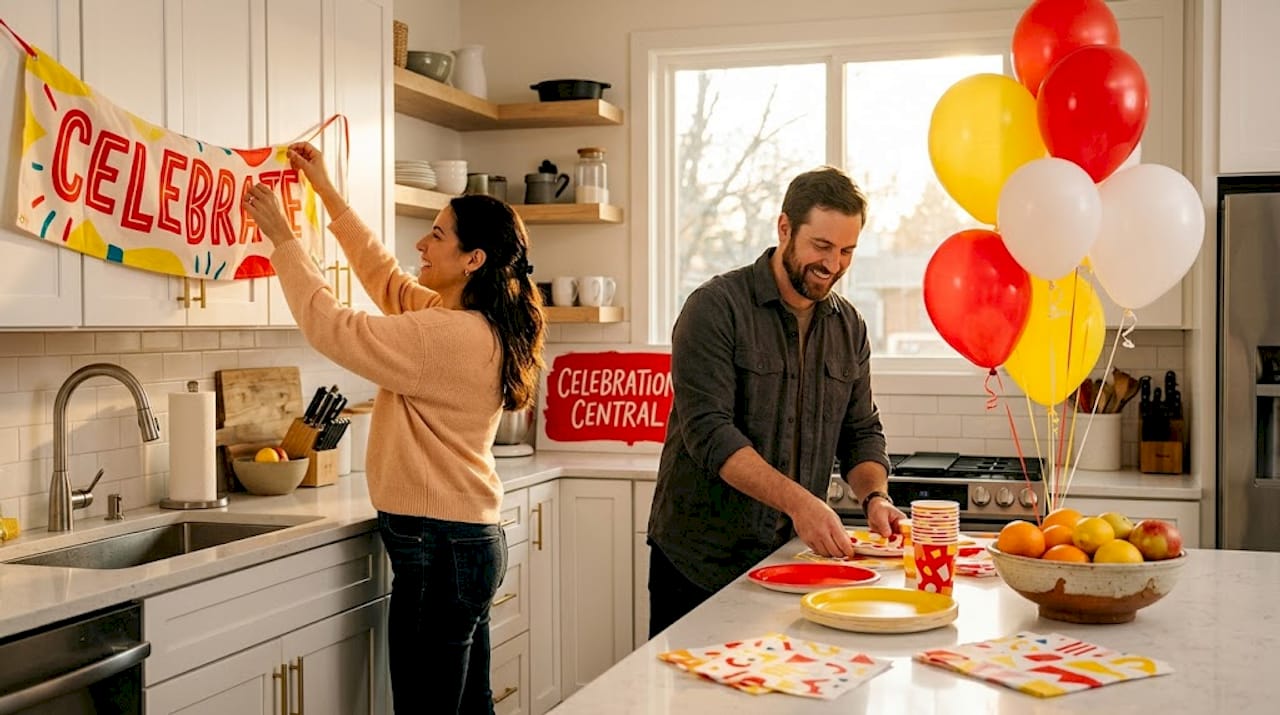
The 80/20 rule applies beautifully here. Focus 80% of your decoration effort on the 20% of the space guests see most. That means the entrance, the food and cake table, and the photo backdrop get your best work. The rest of the room can be simple and clean.
Here is a quick comparison of decor approaches to help you decide where to invest:
| Decor area | High-impact choice | Budget-friendly swap |
|---|---|---|
| Backdrop | Custom balloon wall | Kraft paper with painted designs |
| Table centerpiece | Floral arrangement | Balloon cluster with greenery |
| Tableware | Coordinated themed plates | Solid color plates with themed napkins |
| Favors | Custom printed bags | Plain bags with sticker labels |
| Lighting | Edison string lights | Battery-powered fairy lights |
When layering textures, think in threes. Pair something smooth (like a satin tablecloth) with something organic (like greenery or wood accents) and something graphic (like a bold patterned plate). That combination creates visual depth without requiring expensive pieces.
A few mistakes to avoid:
-
Overdecorating the whole room equally. This dilutes impact and wastes money.
-
Mixing too many patterns. Stick to one or two patterns and let solids do the rest.
-
Ignoring the ceiling. Hanging balloons or paper lanterns overhead transforms a plain room for very little cost.
-
Skipping a test layout. Arrange key items on your table at home before the event day to catch anything that clashes.
Step-by-step setup and installation
How you set up matters just as much as what you buy. A logical setup order from ceiling to floor prevents you from knocking over finished work and saves serious time on party day.
Follow this sequence:
-
Start at the entrance. Hang your welcome sign, balloon arch, or door decor first. This sets the tone before guests even walk in.
-
Move to ceiling and walls. Hang streamers, paper lanterns, or balloon clusters. Working top-down means nothing falls on your finished table settings.
-
Set up tables. Lay tablecloths, add centerpieces, and arrange tableware. A coordinated party pack makes this step much faster since everything is already matched.
-
Add lighting. String lights and battery-powered candles go in after tables are set so you can see exactly where light is needed.
-
Final touches. Scatter confetti, add place cards, set out favors, and do a full walk-through from the guest’s perspective.
For balloons specifically, inflate latex balloons on event day since their luster lasts only about 12 hours. Foil balloons hold helium three to five times longer, so those can go up the night before.
Pro Tip: Build a decoration emergency kit with tape, extra balloons, a hot glue gun, zip ties, and safety pins. DIY garlands and delicate paper items are prone to damage, and having this kit on hand means a quick fix instead of a meltdown.
Set a hard stop time for setup that is at least 30 minutes before guests arrive. That buffer is your sanity saver. Use it to change clothes, take a breath, and enjoy the party you worked so hard to create.
Troubleshooting common mistakes
Even the most organized planners hit snags. Here is how to handle the most common ones before they derail your event.
-
Inconsistent theme: If items arrive and do not match your palette, use a solid-color tablecloth or neutral runner to unify mismatched pieces visually.
-
Late purchases: Late shopping leads to premium prices and reduced selection. Always keep a 10% contingency fund in your budget for last-minute gaps.
-
Not enough supplies: Order 10-15% more than your guest count for tableware. Running out of plates mid-party is avoidable.
-
Custom items running late: Have a backup plan ready. A handwritten sign or a simple printed banner can substitute for a custom piece in a pinch.
-
Budget overruns: Use DIY for your statement pieces and buy basics in bulk. Avoid licensed character items, which carry a significant price premium for the same functional item.
For sustainability-minded hosts, consider reusable decor like fabric banners, potted plants as centerpieces, and bamboo or recycled paper tableware. These choices reduce waste and often look more upscale than their disposable counterparts.
Pro Tip: Plan your clean-up before the party starts. Designate a trash station, bring extra bags, and assign one helper to manage it. A smooth clean-up is the final gift you give yourself after a great celebration.
What I’ve learned from coordinating parties from scratch
I have planned more parties than I can count, and the single biggest shift in my approach came when I stopped trying to decorate everything and started obsessing over a few key moments instead.
The entrance and the cake table. That is where I put my best work now. Every time I have done that, guests walk in and immediately say “wow.” The rest of the room can be simple. That focal point does all the heavy lifting.
I also used to underestimate how much time DIY actually takes. A balloon garland sounds like a quick afternoon project until you are three hours in and your hands hurt. Now I am honest with myself: I pick one or two DIY statement pieces and source the rest from curated collections that already match my theme. The result looks just as good, and I actually enjoy the party instead of recovering from it.
The color rule changed everything for me too. Before I discovered the 60/30/10 formula, my parties looked busy. Now I pick one neutral, one secondary color, and one accent, and I stick to it across every single item. Even mismatched pieces start to look intentional when the colors align.
My emergency kit has saved me at least four parties. Tape, a glue gun, extra balloons, and zip ties. Never skip it.
— Kate
Make your next party effortless with Poppartysupplies
At Poppartysupplies, we know exactly how much thought goes into pulling a party together from scratch, because we have been there ourselves (three moms, a whole lot of birthday parties, and one big idea). Our curated collections take the guesswork out of coordinating by giving you themed tableware, favors, and decor that already work together beautifully. Check out our complete party packs for everything you need in one place, or browse individual favorites like our checkered paper plates for a bold, on-theme table setup. We offer free shipping on orders over $50, so stocking up is always worth it. Find your theme and let us help you make it incredible.
FAQ
How early should I start coordinating party supplies from scratch?
Start at least four to six weeks before your event. Order custom and specialty items in the first two weeks, and save perishables like fresh flowers for one to two days before the party.
What percentage of my budget should go to decorations?
Decorations typically take 10-15% of your total party budget, with food and drinks claiming the largest share at 40-50%. Keeping decor within this range helps balance your overall spending.
How do I make DIY party supplies look professional?
Stick to a consistent color palette using the 60/30/10 rule and focus your best decor on high-visibility spots like the entrance and food table. Layering textures adds depth and makes affordable supplies look curated.
When should I inflate balloons for a party?
Inflate latex balloons on the day of the event since their luster fades after about 12 hours. Foil balloons hold helium much longer and can be inflated the night before.
What goes in a party decoration emergency kit?
Pack tape, a hot glue gun, extra balloons, zip ties, safety pins, and extra staples. These supplies handle the most common on-site decor fixes quickly and without stress.